Insights & Updates
Latest Articles
Practical tips, success stories, and local updates from our team to help you get the most out of your home and property.

Gas Pressure Tests & Permits: What Royse City Landlords Need to Know
Gas pressure tests, permits and inspections for Royse City rentals — what they cost, how long they take, and how to pass on the first try.
Read Article →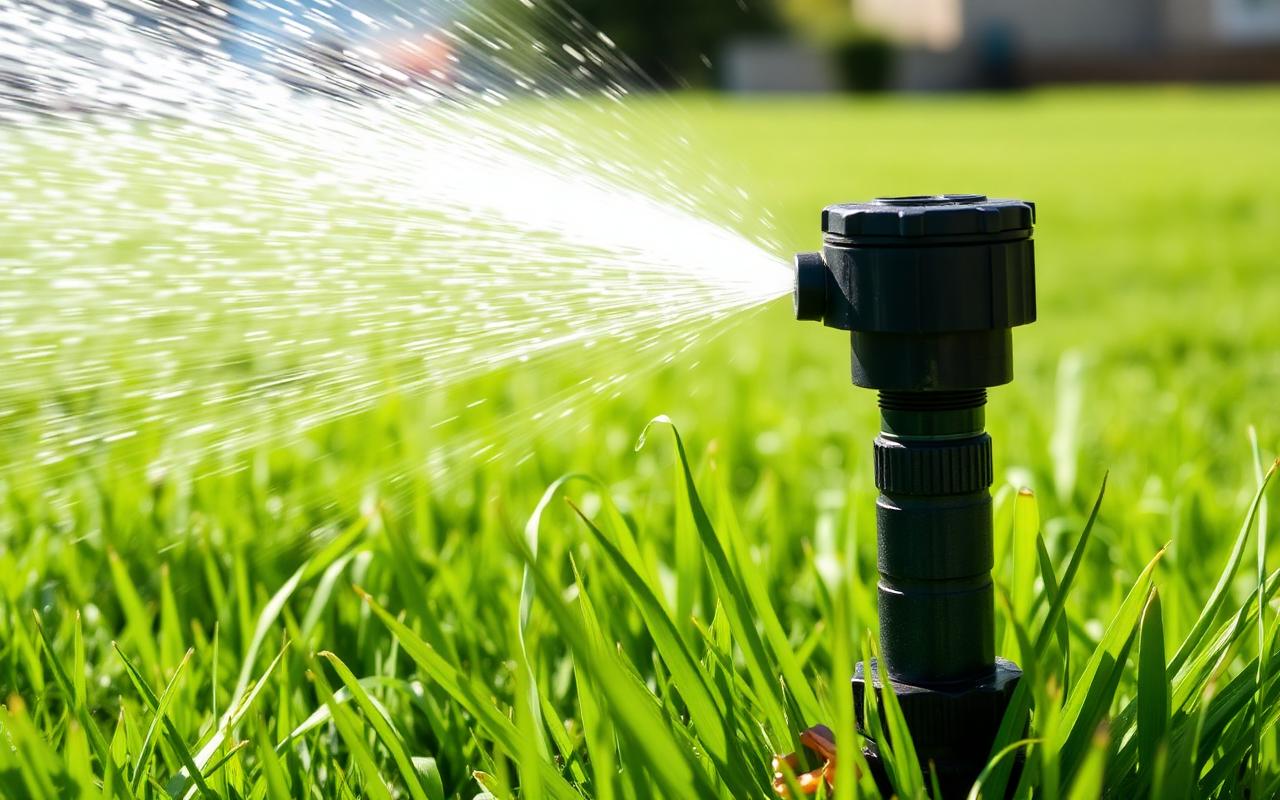
Septic Aerobic Sprinkler Leaks: Who to Call & What It Costs
Low pressure on your aerobic septic sprinklers? Learn how to spot leaks, who is licensed to repair them, and what a typical repair runs in North Texas.
Read Article →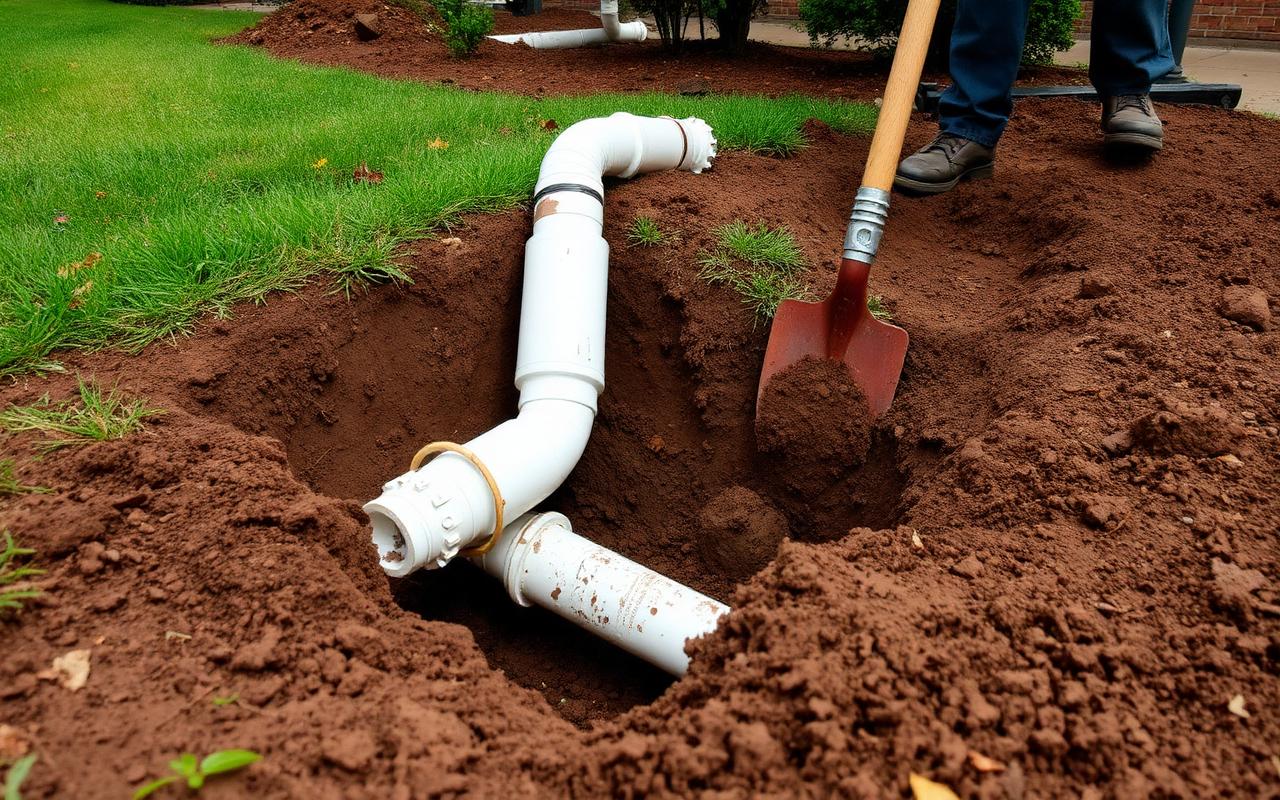
Why Underground Plumbing Repairs Cost So Much (And What You're Really Paying For)
Underground pipe repair quotes can be shocking. Here's exactly what goes into them and where the money actually goes.
Read Article →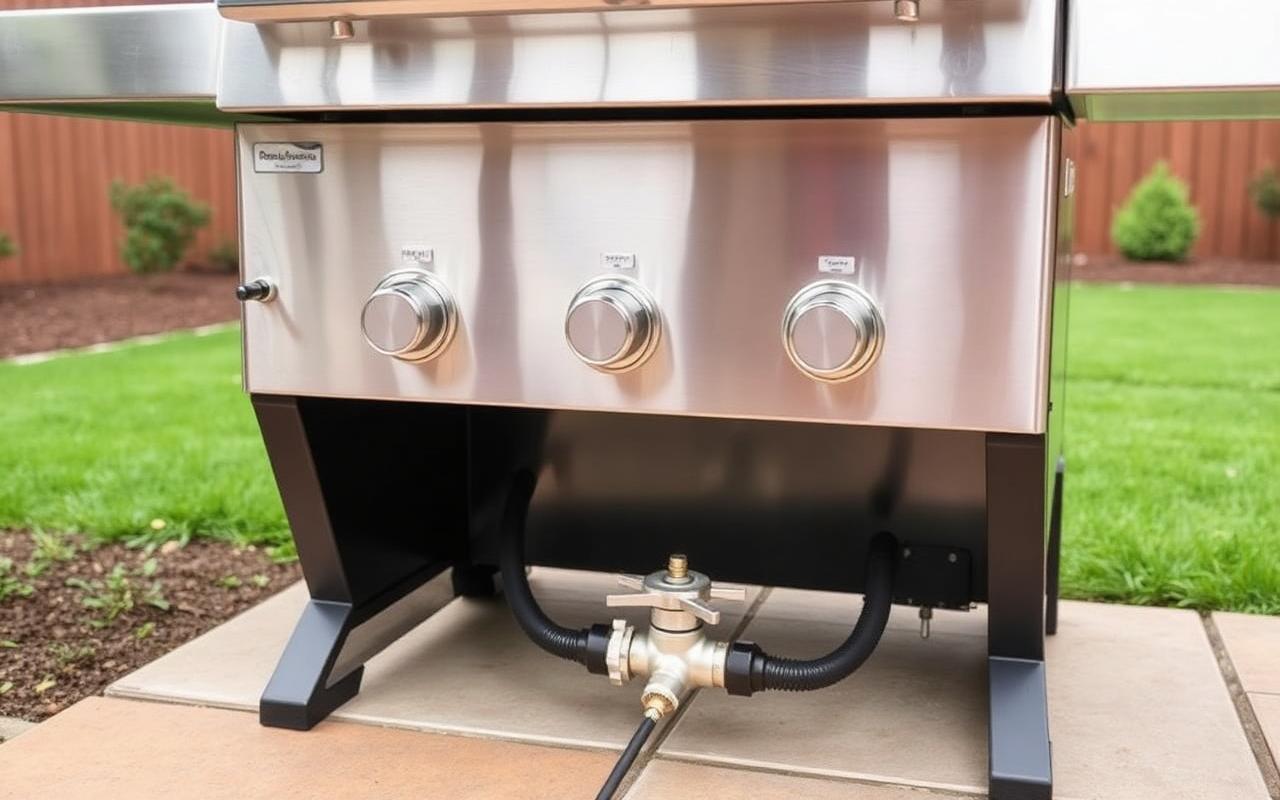
Why You Should Hard-Pipe Your Natural Gas Grill
Thinking about hard-piping your natural gas grill? Learn why it's safer, more reliable, and pays for itself faster than you think.
Read Article →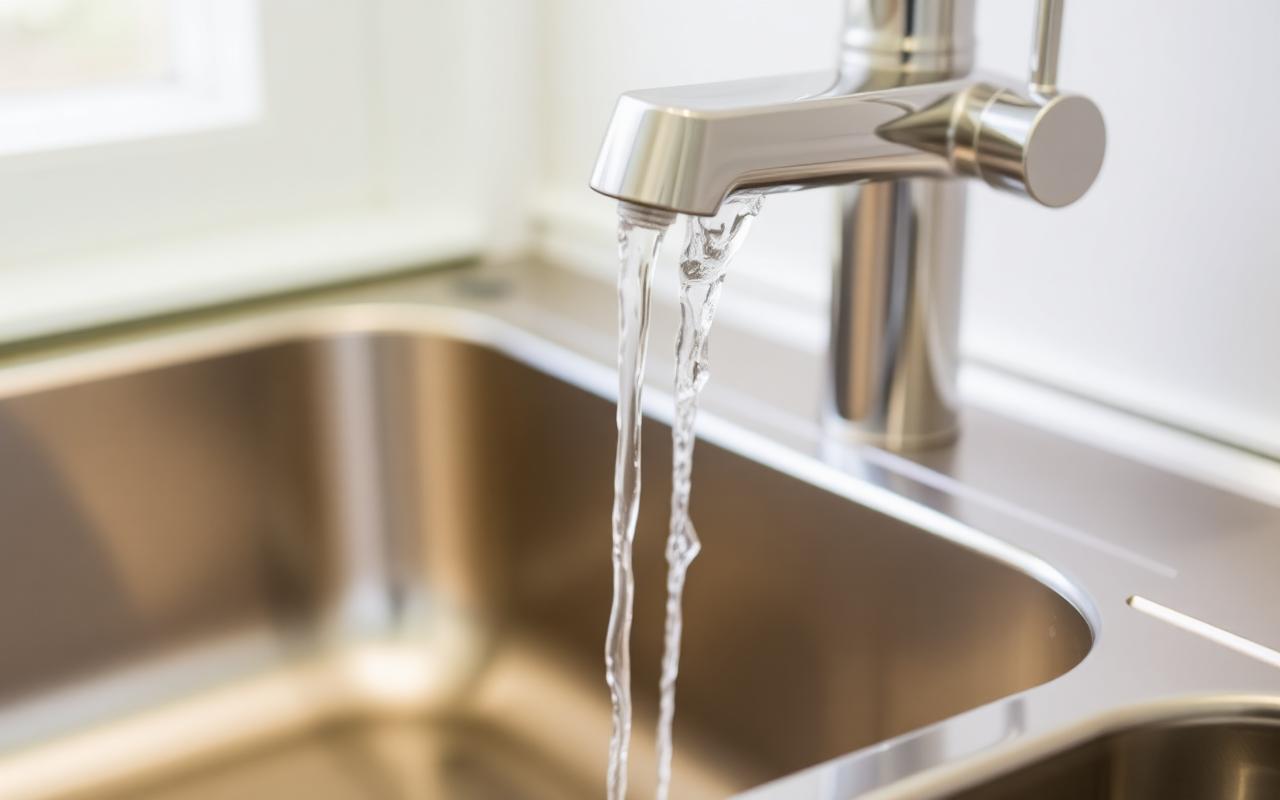
Why Your Kitchen Faucet Pressure Is Suddenly Low
Kitchen faucet pressure suddenly low? Learn the most common causes, simple checks you can do yourself, and when to call a plumber.
Read Article →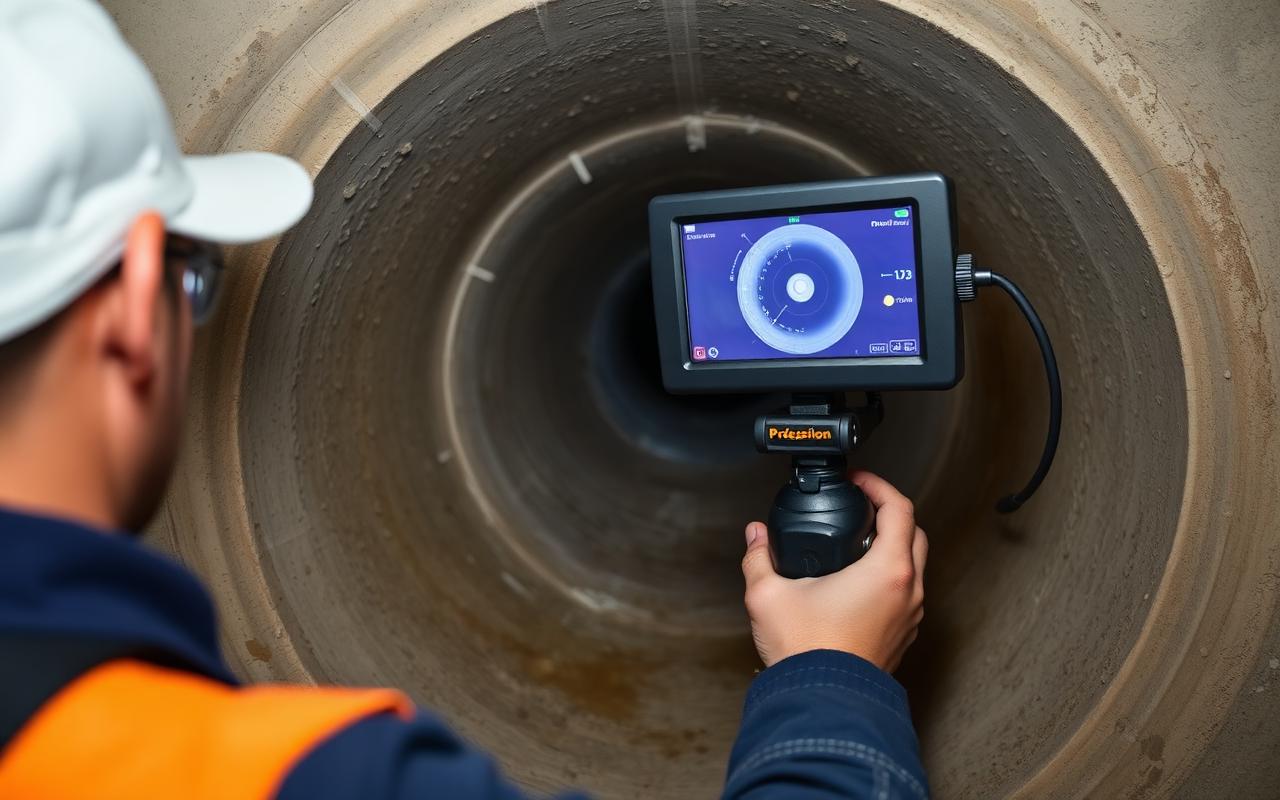
How Long Sewer Camera Leak Detection Really Takes
Worried about time off work for sewer camera leak detection? Here's how long it really takes and what to expect during the visit.
Read Article →